
Connect Officiële Bekendmakingen
Dutch government publishes every decision that has legal force: the permit, the by-law, the traffic order, the act in the Staatsblad, the treaty in the Tractatenblad. This connector makes those 6,6 million publications answerable on their full text. Open Raadsinformatie and OpenBesluitvorming cover the debate; this one covers the decision that followed it.
What this connector can do
- Search reads the TEXT of a document and not only its title. Measured on 2026-08-15, 'stikstof' returns 21.456 publications of which 1.732 carry the word in the title, so title search misses 92 percent. No other official Dutch source here can do this.
- This is where decisions are. A council debate about a solar park is in Open Raadsinformatie; the permit that followed it is here, and only what is published here has legal force.
- The totals are exact. A total from this source may be presented as a count, unlike OpenBesluitvorming, where the same call twice can report different numbers.
- Search by place: the municipality, province or water authority a publication is ABOUT, which is not the same as the body that issued it. A permit for a site in one municipality can be issued by a joint arrangement in another.
And what it cannot
- The clean text of a Kamerstuk arrives up to three months after the paper itself, and for an answer to a parliamentary question (ah-) or an attachment (blg-) it never arrives. Measured: none of the Kamerstukken of the current month had an XML rendition, 42 percent of those a month old did, and every one from three months back did. Search still finds them; only the text is missing, and the answer says which of the two cases applies.
- Seven in ten publications are Gemeenteblad notices, mostly permits. A broad term without a publication filter therefore returns mostly municipal material, which can read as though a subject is purely local.
- A search term with * or ? is refused. The platform accepts a mask and does not apply it: 'stikstof*' returns exactly the same records as 'stikstof'. Answering a different question from the one asked is worse than refusing.
- The platform allows about a hundred requests with a refill of one per second, per address. That limit is documented nowhere and announced by no header; this connector paces itself against it and waits rather than exceeding it.
Claude Connecting with Claude
Connect with Claude Desktop recommended
Recommended for most users. Open Settings → Connectors and add a custom connector.
Add a custom connector in Claude Desktop
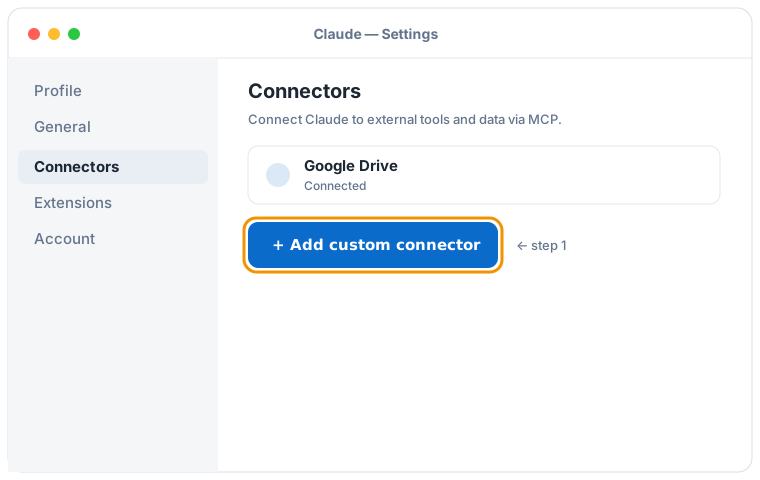

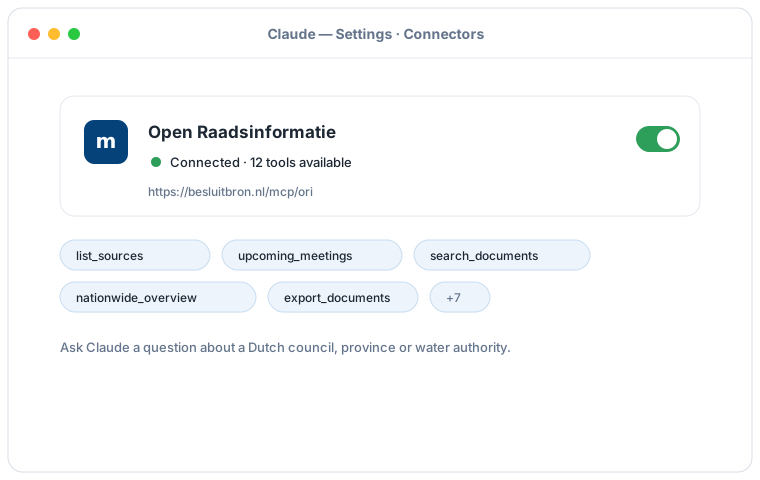
Schematic illustration of the Claude Desktop flow; the exact screens may vary per version. Click an illustration to enlarge it.
Add a custom connector with this URL:
https://besluitbron.nl/mcp/officielebekendmakingen/v1
No authentication is required.
This address is the one of this installation. An organisation running the service itself uses its own address. Run it yourself.
Connect with Claude Code
Run a single command in the terminal:
claude mcp add --transport http officielebekendmakingen https://besluitbron.nl/mcp/officielebekendmakingen/v1
Connect with claude.ai
Add a custom connector under Settings → Connectors with the same URL.
https://besluitbron.nl/mcp/officielebekendmakingen/v1
ChatGPT Connecting with ChatGPT
ChatGPT can use BesluitBron too. The route differs from Claude's: with Claude you add an ordinary custom connector, with ChatGPT it sits behind a developer setting.
Needed: ChatGPT in a web browser and a paid plan on which developer mode is available. In a Business or Enterprise workspace an administrator has to allow it first, under Workspace Settings → Permissions & Roles → Connected Data. OpenAI states this mode is meant for developers.
- In ChatGPT, open your profile picture at the top right and go to Settings.
- Go to Connectors (called Apps in some versions) and open Advanced settings at the bottom.
- Switch on Developer mode.
- Under Connectors, add a remote MCP server and paste the URL below. For authentication, choose none.
Add a custom connector with this URL:
https://besluitbron.nl/mcp/officielebekendmakingen/v1
No authentication is required.
OpenAI changes these screens regularly and the names differ per version and plan; if your screen looks different, see the OpenAI Help Center.