
First use
Register one address, then start asking. Here you can see how to add the custom connector that carries every source, and what your first question produces.

Register the custom connector
The same steps as MCP onboarding: add the address below once, in Claude Desktop or claude.ai. That one address carries every source, so a second connector is not needed.
Add a custom connector in Claude Desktop
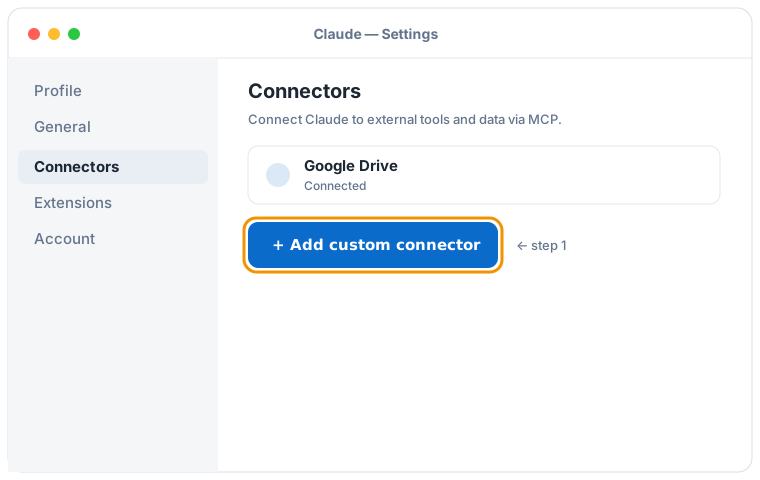

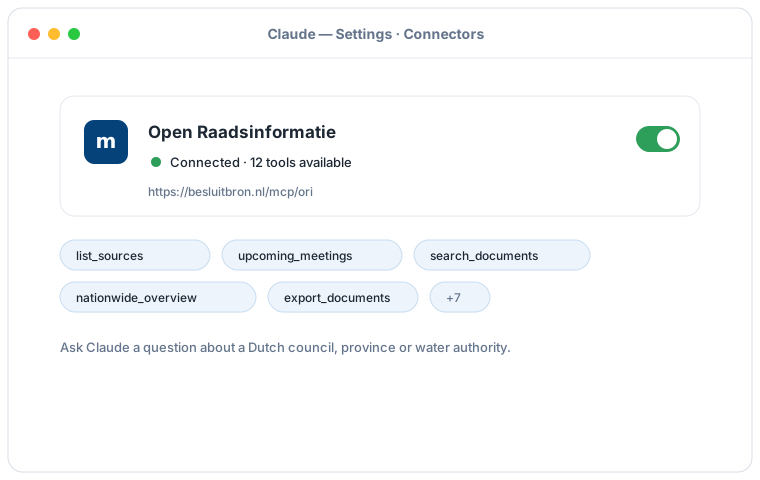
Schematic illustration of the Claude Desktop flow; the exact screens may vary per version. Click an illustration to enlarge it.
This is the address of the connector that carries every source:
https://besluitbron.nl/mcp/unified/v1
No authentication is required.
Ask your first question
Once the connector is connected, you can ask Claude straight away. A few examples to start with:
- "What is on the agenda of the upcoming Utrecht council meeting?"
- "Find the Ede documents about the heat network from recent years and summarise the positions."
- "What did Utrecht city council decide about the heat network, what was officially published about it, and has a court ruled on it?"
What to expect
- Claude cites its source with the answer: which municipality, which parliamentary paper, which publication or ruling, and which document backs it up.
- The first answer can take a little longer, because Claude calls several tools in sequence to answer the question.
- Not sure where to start? The full MCP onboarding guide covers every connection method and more example prompts.