
Connect every source at once
One address for everything this installation can read. Every tool carries the source it addresses as a prefix, so you choose the source by choosing the tool. This endpoint stores nothing and decides nothing for you.
What is on this endpoint
ori_…, Open Raadsinformatieopenbesluitvorming_…, OpenBesluitvormingtweedekamer_…, Tweede Kameropentk_…, OpenTKofficielebekendmakingen_…, Officiële Bekendmakingenrechtspraak_…, Rechtspraakopenarchivaris_…, Open Archivaris
A tool is called tweedekamer_get_vote or openbesluitvorming_find_motions, for instance. Seven tool names exist on more than one source and three of those mean different things per source; the prefix makes that unambiguous.
What this connector can and cannot do
- Everything the separate connectors can do, with the same tools and the same answers. Nothing is lost and nothing is added, except list_capabilities: it says per source what it is authoritative for and which trap makes an answer wrong rather than incomplete.
- There are many of them: over forty tools. That is deliberate, because the alternative was choosing on your behalf which source answers your question. Start at list_capabilities when in doubt.
- This endpoint has no data and no source of its own. It shows the tools of the connectors that are switched on; switch one off and its tools are absent here too.
- Two pairs look interchangeable and are not: ori is the retired predecessor of openbesluitvorming, and tweedekamer is the register whose text opentk indexes. Always say in an answer which source a finding came from.
Claude Connecting with Claude
Connect with Claude Desktop recommended
Recommended for most users. Open Settings → Connectors and add a custom connector.
Add a custom connector in Claude Desktop
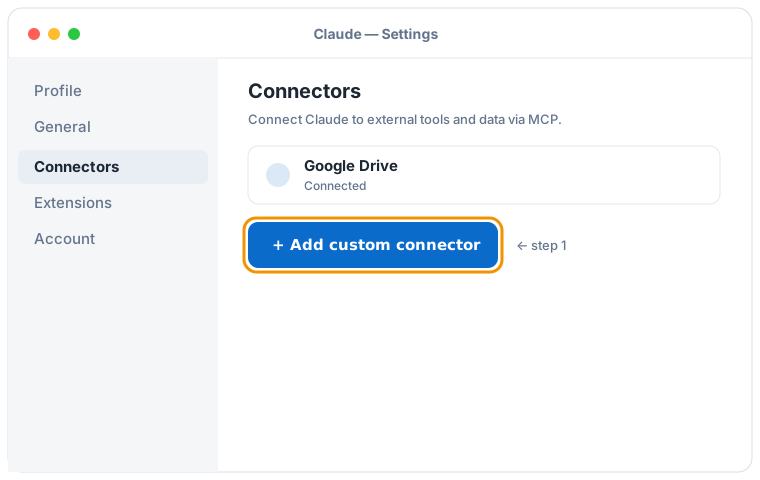

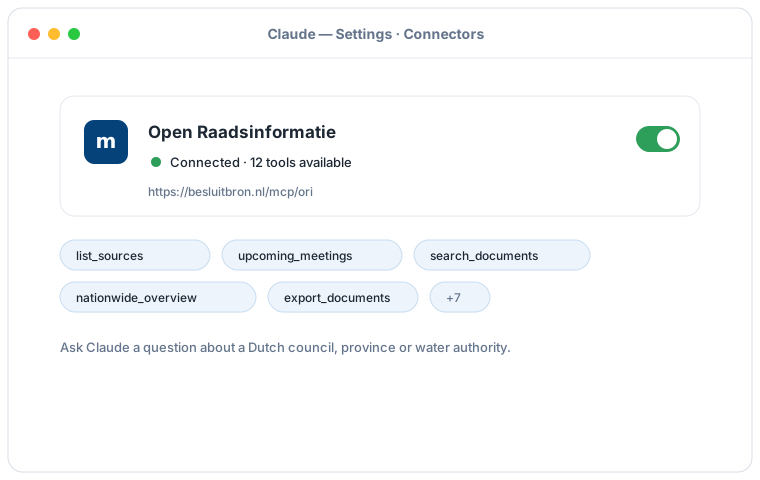
Schematic illustration of the Claude Desktop flow; the exact screens may vary per version. Click an illustration to enlarge it.
Add a custom connector with this URL:
https://besluitbron.nl/mcp/unified/v1
No authentication is required.
This address is the one of this installation. An organisation running the service itself uses its own address. Run it yourself.
Connect with Claude Code
Run a single command in the terminal:
claude mcp add --transport http unified https://besluitbron.nl/mcp/unified/v1
Connect with claude.ai
Add a custom connector under Settings → Connectors with the same URL.
https://besluitbron.nl/mcp/unified/v1
ChatGPT Connecting with ChatGPT
ChatGPT can use BesluitBron too. The route differs from Claude's: with Claude you add an ordinary custom connector, with ChatGPT it sits behind a developer setting.
Needed: ChatGPT in a web browser and a paid plan on which developer mode is available. In a Business or Enterprise workspace an administrator has to allow it first, under Workspace Settings → Permissions & Roles → Connected Data. OpenAI states this mode is meant for developers.
- In ChatGPT, open your profile picture at the top right and go to Settings.
- Go to Connectors (called Apps in some versions) and open Advanced settings at the bottom.
- Switch on Developer mode.
- Under Connectors, add a remote MCP server and paste the URL below. For authentication, choose none.
Add a custom connector with this URL:
https://besluitbron.nl/mcp/unified/v1
No authentication is required.
OpenAI changes these screens regularly and the names differ per version and plan; if your screen looks different, see the OpenAI Help Center.